Saturday, April 28, 2012

Champagne Cupcakes with Champagne Buttercream Frosting

Tomorrow I am going to a friends 30th Birthday party in Huntington Beach on a champagne boat thing. What goes better with a champagne 30th Birthday boat trip than champagne cupcakes? Nothing! This is basically the same recipe I found for white wine cupcakes, just substitute champagne for the white wine. I love how fluffy these cupcakes turn out. Its almost like angel food cake with a little extra kick added in! And yes, I did some of the champagne while baking!

Cupcake Ingredients:
* 2 3/4 Cups Flour
* 3 Teaspoons Baking Powder
* 1 Teaspoon Salt
* 2/3 Cup Butter
* 1 1/2 Cups Sugar
* 3/4 Cup Champagne
* 6 Egg Whites

* Preheat oven to 350 Degrees F. Line muffin pan with liners (I only needed 18)

* In a bowl, sift together Flour, Baking Powder, and Salt. Set aside.

* In the bowl of your mixer, beat together butter and sugar.

* Add the Flour Mix and Champagne in 3 additions, starting and ending with the Flour.


* Remove batter from mixer bowl and clean it out. (Unless you are cool and have 2 bowls for your mixer, which unfortunately I am not) The batter will be thick.

*Using the whisk attachment beat the egg whites until stiff peaks form.

* Fold the Egg Whites into the Batter. It will start out really watery looking, just keep gently folding the Egg Whites into the Batter.


* Fill liners.


* Bake for approx. 20-25 minutes. Let cool before frosting.


Frosting Ingredients:
* 3 Cups Powdered Sugar
* 1 Cup Butter
* 1/2 Teaspoon Vanilla Extract
* 3 Tablespoons Champagne

* Beat Sugar and Butter until smooth. You might want to let it go for a few minutes until it looks kind of like whipped.

* Add Vanilla and Champagne and beat for another minute or two until it looks nice and whipped.


Decorating:
* I decided that since these were for a birthday party and not just whatever as most of the stuff I make is, that I would actually try and decorate these a little and make them cute. I have a box full of sprinkles that I dipped into!


* Enjoy!!


Wednesday, April 25, 2012

Cake Pops

I had been hearing a lot about cake pops and wanted to try them out. I had a book I got at Target that showed how to make cute shapes and everything. At Michaels, they had the candy coating on sale so I bought a bunch. So today I finally decided to try and make them. OMG they were a pain in the ass. Just FYI if you are going to try and make them, patience is required. I have a feeling they will get easier with practice. Even as I was making them just now, it got a little bit easier. I didn't even attempt to be creative and make shapes or designs or even top with sprinkles.

Ingredients:
* Cake
* Frosting
* Candy Coating
* Sticks

***I used the Cake Pops book as my guide. ANd to make things easier on myself I decided to use a boxed cake mix and pre made frosting.***

* First step is to make the cake according to the directions on the box.

* Cool completely before moving on.

* Cut the cake into pieces and crumble into a bowl. There should not be any big pieces of cake visible.


***I thought that the cake would be harder to crumble completely, but it was actually very easy. I just rubbed it between my fingers into the bowl, and then worked on the bigger pieces that were left individually.***

* Add about 3/4 of the can of frosting. Do not add the whole can.

* Roll the cake into balls. I used my handy scoop to help with the step.

* After all the cake has been rolled into balls, cover in plastic and put in the fridge for a few hours. Or you can put in the freezer, but you don't want them frozen. I did find that it helped to have them cold, they tended to break as they got closer to room temp.

* Melt the candy coating according to the instructions on the package.

*Only take a few of the prepares cake balls out of the fridge/freezer at a time so they don't warm up.

* Dip the stick about 1/2 inch into the melted candy coating.

* Put a cake ball on the stick, try not go more than half way into the ball.

* Dip into the candy coating.

***This was the second bowl I tried. Make sure your bowl is deep enough to cover the whole ball. I broke quite a few trying to roll them around in the candy coating.***

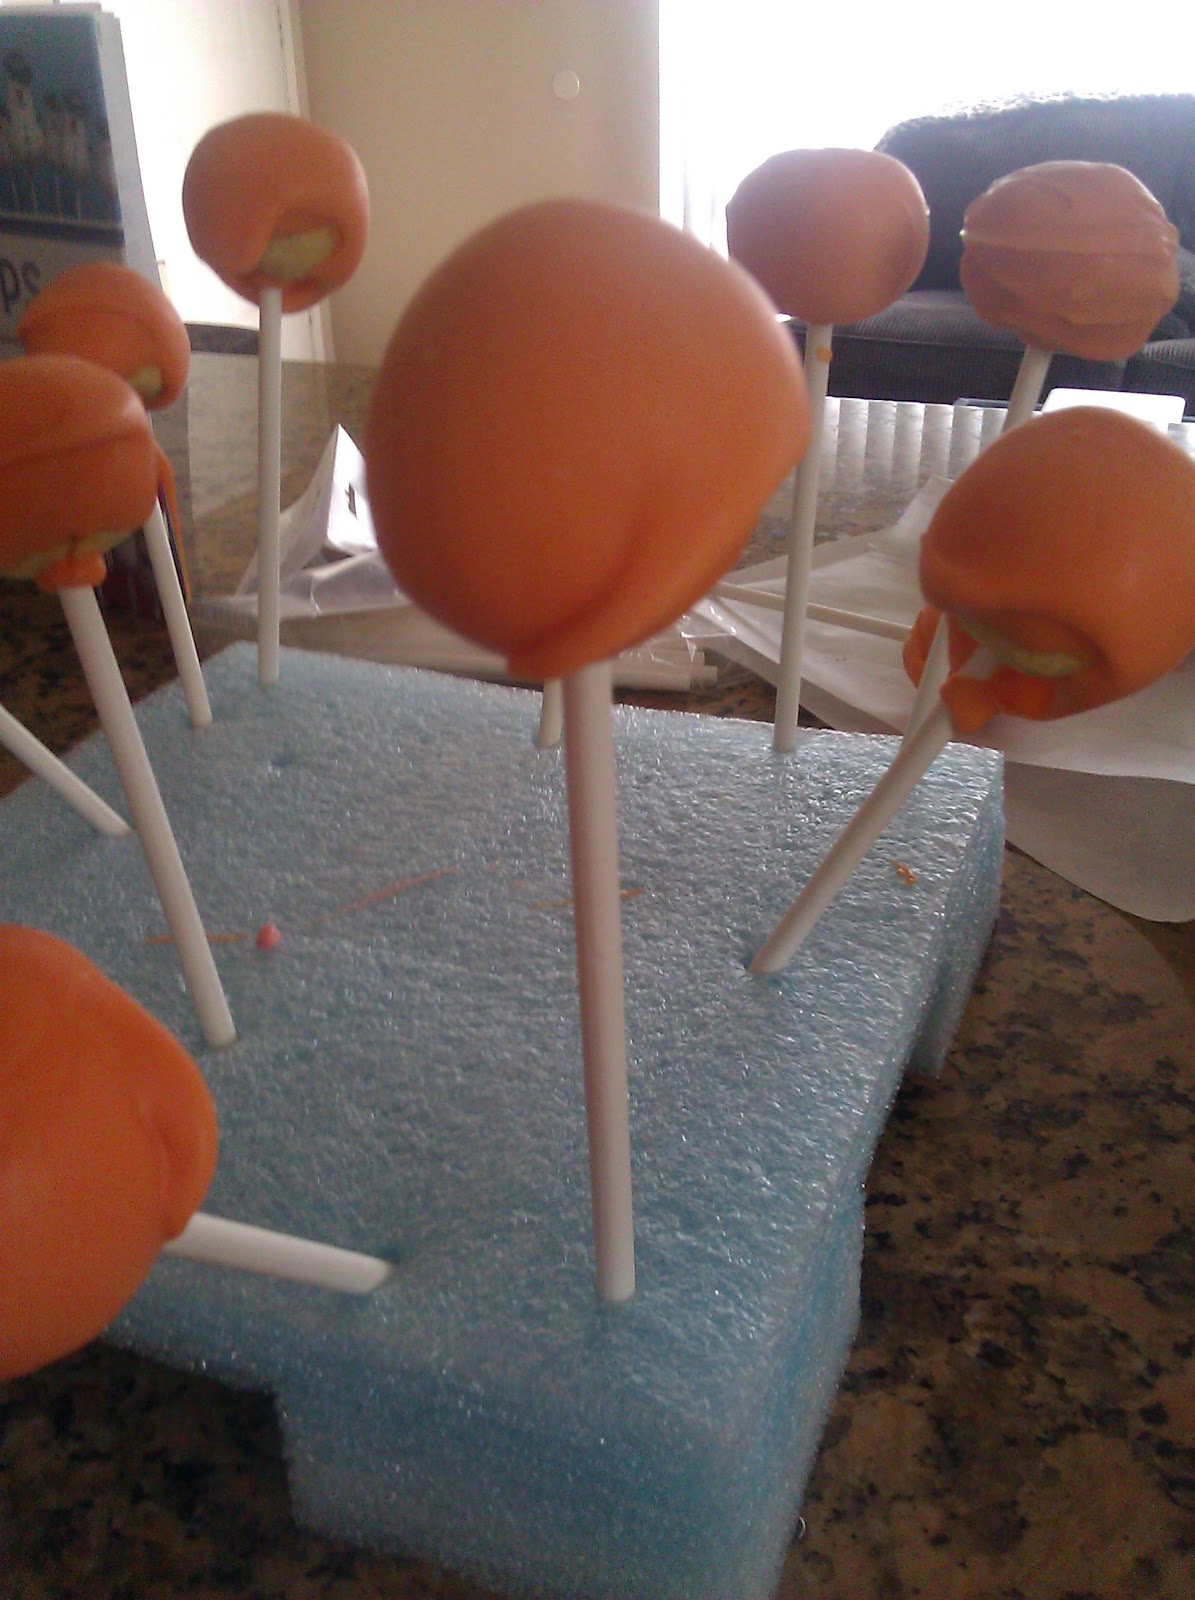
*Stick it in styrofoam until dry.
***I didn't have any styrofoam, and couldn't think of anything else to use. So I found some styrofoam that was used as packing in a box.***

***I also discovered that one bag of candy coating did about half the cake balls I had made. So I had to use another bag.***

***I found a better bowl, deeper and covered the whole cake ball. Third times the charm right?***

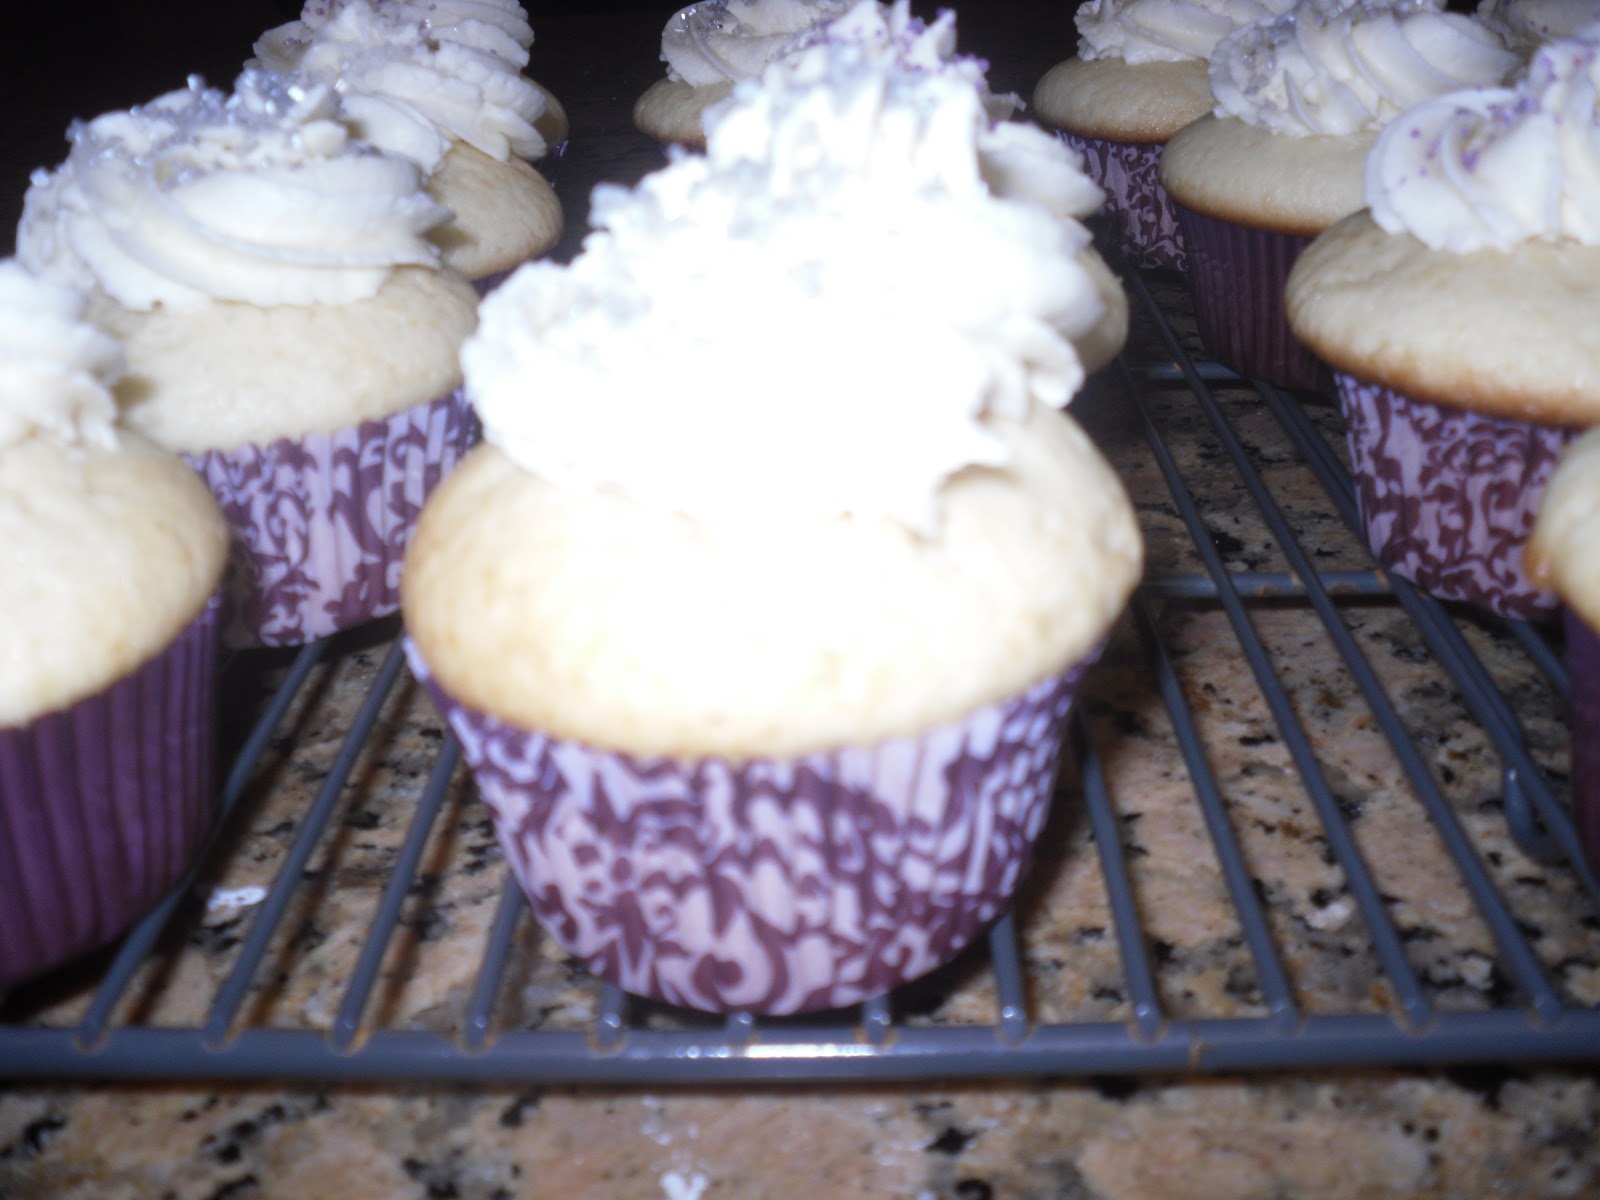
*So hopefully this task was less frustrating for you than for me. Like I said, I got better as I went along. The orange ones came out better than the pink ones in my opinion. Next time I will try and get fancier and use some sprinkles!

*Enjoy!!!


Tuesday, April 24, 2012

Banana Chocolate Chip Mini Muffins

I had some bananas I bought last week just sitting around going bad. I guess I could have just eaten them, but I decided it would be more fun to bake with them instead. I looked around my kitchen for ingredients that I had on hand for ideas of something to make. I decided on banana chocolate chip mini muffins. I mean really, how could you go wrong with that?

Ingredients:
* 1 1/2 Cups Flour
* 2/3 Cup Sugar
* 1 1/2 Teaspoons Baking Powder
* 1/4 Teaspoon Salt
* 1 Cup Mashed Ripe Banana
* 1 Egg
* 1 Teaspoon Vanilla Extract
* 1/2 Cup Butter, Melted
* 1/4 Cup Milk
* 3/4 Cup Chocolate Chips

***I only had 2 bananas on hand, and it worked ok, but next time I make this, I think I would like a little more banana flavor. so I would use 3.***

* Preheat oven to 350 Degrees F. Line 2 mini muffin trays with paper liners.

* In a bowl, combine Flour, Sugar, Baking Powder, and Salt. Set aside.

* In a large bowl, combine Banana, Egg, Vanilla, Butter, and Milk.

* Combine the Banana Mix into the Flour Mix. Stir until just combined.

* Stir inn Chocolate Chips.

* Fill Muffin Cups with batter. The batter will be kind of thick.

* Bake for approx. 20 minutes.

* Let cool in pan for a few minutes and move to rack to cool.

* Enjoy!!!